Posted 4/29/2025
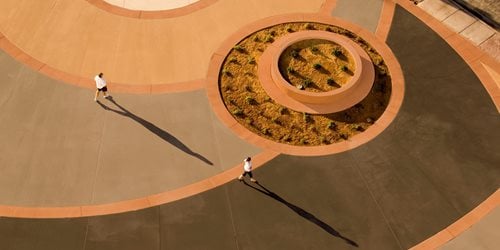
Integrally colored concrete delivers long-lasting, fade-resistant color throughout the slab—but it has to be done right. Color variation, blotchy finishes, and customer complaints often stem from a few avoidable mistakes. Whether you’re pouring a driveway, patio, or large commercial slab, the key to success is consistency in your materials, your methods, and your expectations.
These dos and don’ts for how to color your concrete mix come straight from our team at Solomon Colors and experienced contractors who know what works—and what doesn’t.
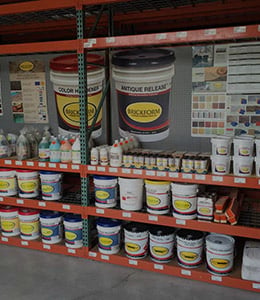
Not all pigments are created equal. Using high-quality, well-formulated color ensures vibrant, consistent results that match the intended specifications. Some lower-grade pigments use fillers that dilute the strength and intensity of the color, leading to uneven or faded finishes.
💡 Did You Know? Need a custom color or a perfect match? The color lab at Solomon Colors is staffed with experts who specialize in color matching and quality control, so every batch meets your exact specs.
Integral color comes in three forms—each with pros and cons.
Using the right type helps ensure even color and efficient batching.
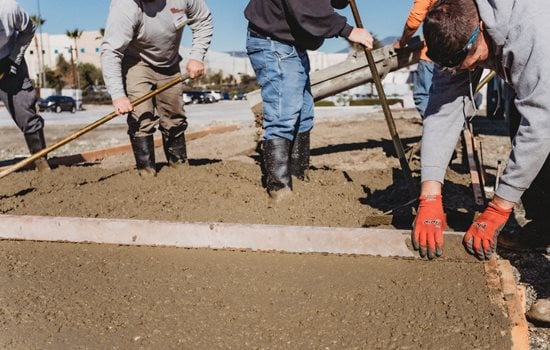
A solid mix is the foundation for consistent color. The number one cause of color variation is inconsistency—pouring on different days, under different weather conditions, or with changes in how the mix is loaded.
“Stick with the same ready mix plant, the same sand, the same cement, and the same water-cement ratio from batch to batch. It might sound basic, but that consistency is what gives you a uniform, professional-looking finish every time.”
— John Reynolds, Technical Services Manager at Solomon Colors
⚠ Note on 908 Carbon Black: Carbon black pigments can reduce the amount of entrained air during mixing. If air entrainment is required, be sure to monitor air content closely and adjust as needed to meet specifications.
Inconsistent slump is a major cause of uneven color.
“If you need a higher slump, don’t just add water. That’s a fast way to weaken your mix and wash out your color. A water reducer gives you workability without sacrificing strength or pigment concentration.”
— John Reynolds, Technical Services Manager at Solomon Colors
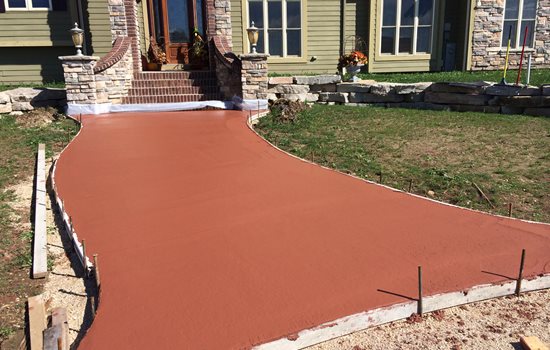
Always check the weather before pouring integrally colored concrete—timing is everything.
When it’s warm out, pour early to stay ahead of set time, keep your finish consistent, and make the work more manageable.
Avoid rainy or windy conditions, which can lead to uneven curing and surface problems.
“Early bird gets the worm. Pour in the morning before it heats up. As the temperature rises, the concrete starts to set faster—making finishing harder and consistency tougher to maintain.”
— Keith Boudart
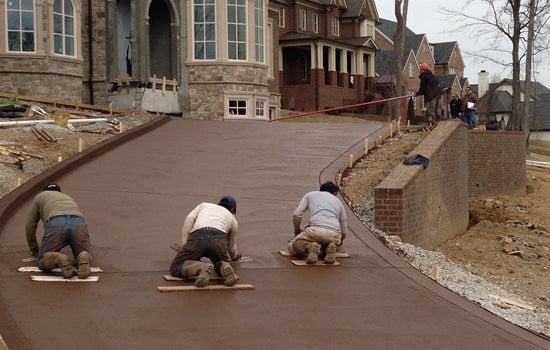
Natural variation is part of the beauty of colored concrete. Educate clients about differences caused by lighting, finish, and texture. Newly poured concrete goes through noticeable color changes as it cures. Fresh concrete is always darker than the finished product, so what you see on day one won’t be the final color. You need to wait at least 2–4 weeks for it to fully cure.
That’s why mockups or test slabs are so important to get everyone on the same page. They are even more important if you’re applying color hardener, surface retarder, stains, or stamps. Different cements and finishes can also affect how the color appears. Color reacts differently to each type of finish, whether it’s broom, hard trowel, stamped, or sponge.
“A test pour is one of the smartest moves you can make on a color job. It gives you a chance to see exactly how the mix, pigment, admixtures, and finish will come together—before you commit to the full slab. It’s a small investment that can prevent a big problem.”
— Keith Boudart, Product Specialist at Solomon Colors
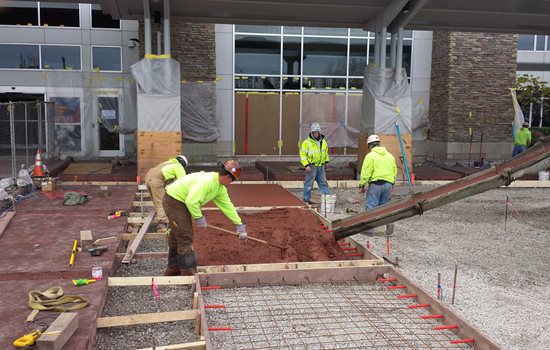
Achieving perfect color consistency across large or multi-day pours can be difficult. Environmental factors, finishing techniques, and subtle batch variations can lead to slight color shifts.
For large projects, plan ahead and set realistic expectations with the client.
To help unify color, consider using a color hardener during finishing to blend multiple pours.
For even color, pigment needs to be added in the right order. Don’t add pigment into an empty drum—start with water and some aggregate, then add the pigment, followed by everything else. Taking the time to load properly goes a long way in producing uniformly colored concrete.
If you’re adding bagged color at the jobsite, here are two tips:
Pigment needs to be mixed into a sufficient amount of concrete to disperse evenly. When the load is too small, there’s not enough material to properly mix the pigment—especially with dry or granular types.
Check your bag labels or the color card to confirm proper loading. This helps ensure consistency and the correct color after mixing.
“Streaking and mottling can happen with short loads. We recommend keeping your mixer at least 30% full. Anything less and you risk inconsistent color.”
— Keith Boudart, Product Specialist at Solomon Colors
Not enough mixing time can lead to streaks, blotches, and uneven results. To get consistent color, you need to give the pigment time to fully disperse in the mix. Aim for at least 100 revolutions or 10 minutes of mixing with dry or granular color.
Note: Liquid color typically disperses faster and only requires a minimum of 60 revolutions or 5 minutes of mixing at full charging speed. Be sure to follow product-specific guidelines for best results.
A poor subgrade sets you up for problems before the pour even starts. Uneven or improperly prepped subgrades can affect slab thickness, surface appearance, and long-term durability.
Make sure your subgrade is level and well-compacted.
On hot days, lightly dampen it before pouring. A dry base can pull water from the mix, causing uneven curing and increasing the risk of efflorescence.
Adding water on the jobsite is one of the most common and damaging mistakes.
“When the concrete truck shows up and you start to pour your integral color, you want to avoid adding a lot of jobsite water. We call that water of convenience. Because the more water that you add to your integrally colored concrete, it’s going to lighten it substantially.”
— Bob Harris, Decorative Concrete Expert
Covering integrally colored concrete with plastic or wet burlap traps moisture unevenly, often leading to blotchy, streaked, or discolored surfaces. This mistake is especially common during unexpected rain.
“You don't want to ever cover the top of your integral color. For example, if we were pouring and got a rain shower and covered it with plastic, it would severely affect the final look of the integral color slab. It would cure with all the striations from the plastic.”
— Bob Harris, Decorative Concrete Expert
When it comes to colored concrete, a little extra thought goes a long way. From mix design to curing methods, every step affects the final appearance. By following these dos and don’ts you’ll get vibrant, consistent results every time.

When color doesn’t match, especially when the mismatched slabs are side by side, panic often sets in.
Learn the basics of coloring exposed aggregate and get helpful tips so you can get the most out of your project
Everything you need to know about adding color to concrete—from selection to installation and maintenance
Explore impressive concrete installations to find inspiration for your next project.
Find out how much color and fiber you'll need for any size project.